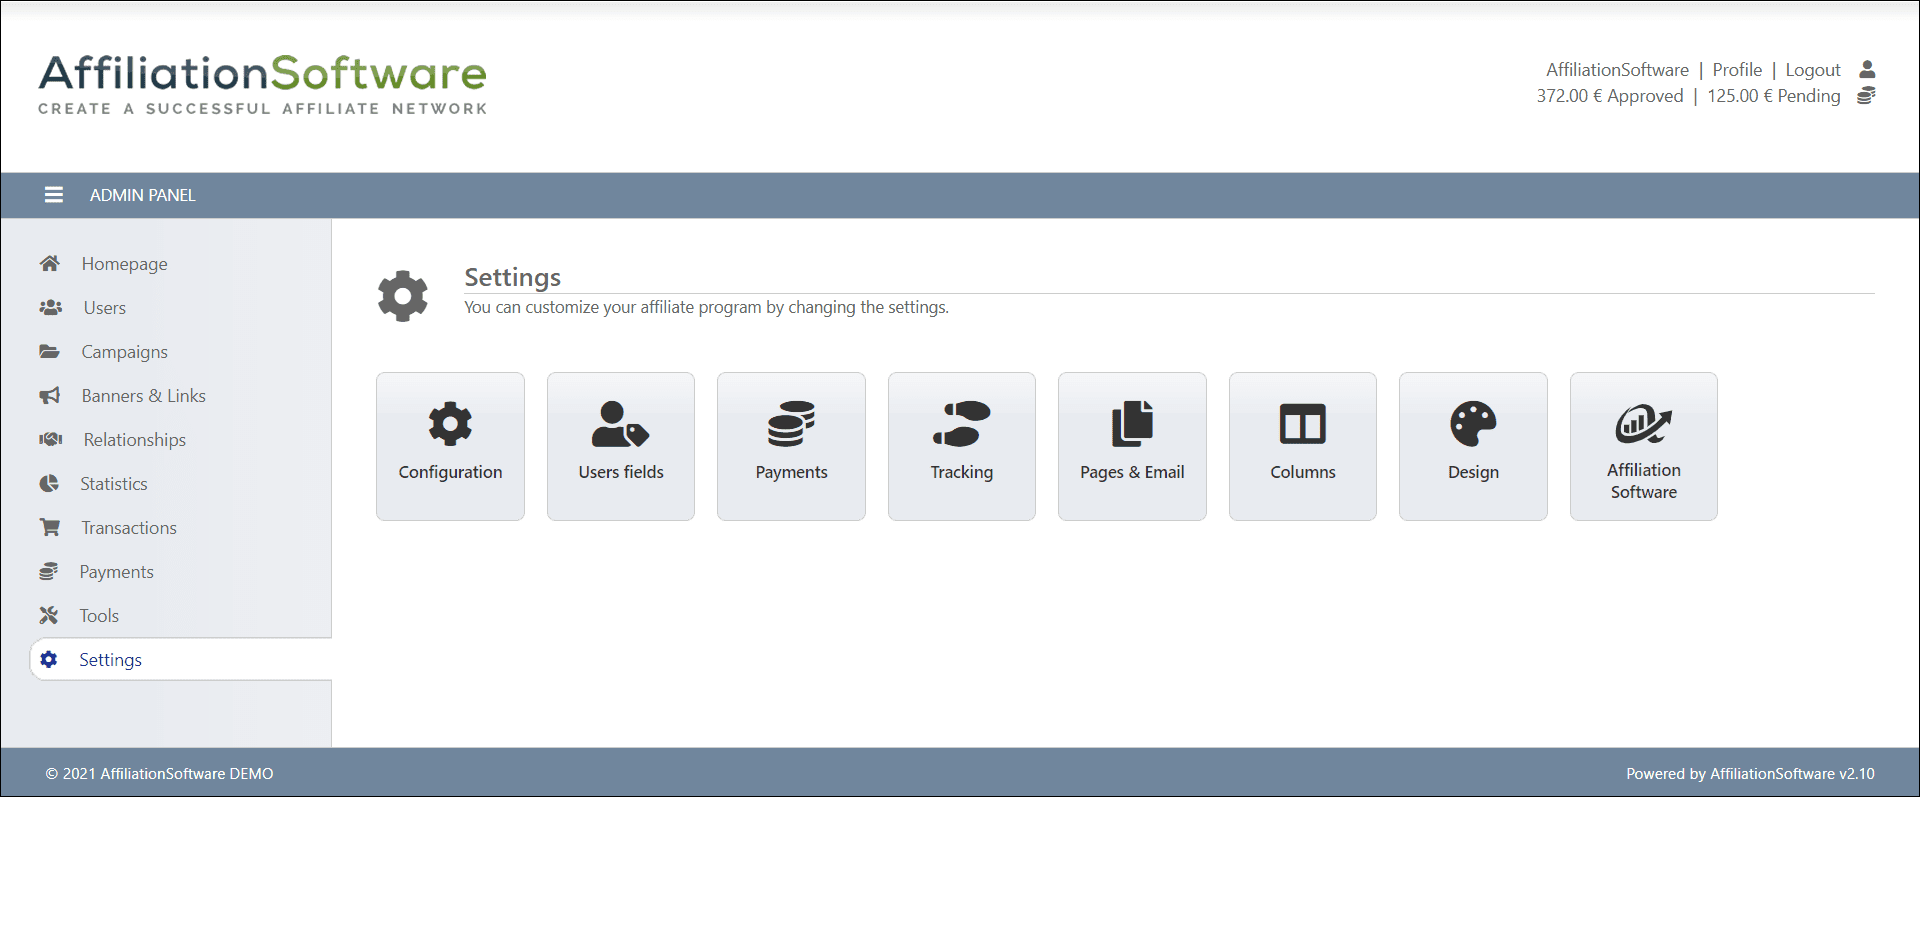
Settings
The settings allow you to change all aspects of your affiliate network, allowing you to configure it according to your needs. On the settings page you can also generate your tracking codes.
The settings are preconfigured, so you can change only the fields that interest you, leaving the others unchanged.
13.1 Configuration
On this page you can change the main settings of your affiliate network. These settings are divided by category.
GENERAL SETTINGS
Name of the site
Enter the name of your affiliate network here. It will appear in the browser tab title, in the footer and as sender in the emails.
Homepage URL
Enter the URL of your website (example "http://www.domain.com"). It will be used as link in the logo and in the footer.
URL logo
Enter the URL of your logo. It will be displayed at the top of the page on the left. You can use the logo you have on your site or upload an image.
URL icon
Enter the URL of the icon to display in the browser tab (favicon). If you have a Mobile icon (smartphone and tablet) insert in the same field after a comma. The mobile icon activates the PWA features and must be a 512x512 PNG. Example: http://example.com/browser.ico,http://esample.com/mobile.png
Hide intro page
You can hide the introduction page that shows all the panels of your affiliate network. If you hide it, users will be directed to the homepage of your site instead.
LOCAL SETTINGS
Currency
Choose the currency you want to use in your affiliate network. Example: $, €, EUR, USD or Credits.
Language
Select the main language you want to use in your affiliate network. Example: Italian, English.
Multilanguage
If you have the multilanguage plugin you can choose which languages to enable. Users will be able to choose which language to use from those enabled. To select multiple languages hold CTRL on your keyboard.
Time zone
Choose the time zone you want to use in your affiliate network. Daylight saving time is automatically updated. Example: (GMT + 1) Rome.
EMAIL SETTINGS
Email address
Enter your email address. It will be used as sender for all outgoing emails and shown in the "Contact Us" page of the affiliate panel. Support requests and notifications for the admin will be sent to this address.
Contact us phone
If you want to show a phone number to your affiliates you can enter it here. It will be displayed in the "Contact Us" page of the affiliate panel.
Contact us Skype
If you want to show a Skype account to your affiliates you can enter it here. It will be shown in the "Contact Us" page of the affiliate panel.
Signature
Enter your signature here. It will appear as a signature in all emails. It can be called in emails using the [signature] variable. HTML code is allowed.
Email admin notifications
Check the box if you want to receive an email notification when an affiliate signs up and/or when a commission is registered. Remove the check if you don't want to receive these emails.
TRACKING SETTINGS
Approve transactions
Choose whether new transactions should be manually validated (registered with "Pending" status), or if you prefer to register them automatically with "Approved" status. This option applies to all campaigns.
Cookie lifetime
You can set the duration of the tracking cookies. If you set 30 days, the system will recognize conversions up to 30 days since the initial click. The default is 90 days.
Double orderID protection
This protection is used to prevent double transactions from being registered, in case that the thank you page has been loaded several times. If the option is enabled, transactions that have the same order number (orderID) will not be tracked.
Fallback URL (plugin)
You can enter a URL to be displayed in case of errors in the affiliates’ links or in case of GEO-target errors. Leave this field blank to use the default AffiliationSoftware page.
IP tracking
You can enable or disable IP tracking. Enable IP tracking to track conversions based on cookies and IP addresses. Disable this option if you want to track only with cookies.
BANNER SETTINGS
Open in
You can choose to open the banners and links in the same window or in a new window (_blank). This option applies to all banners / links.
Show link in homepage
It allows you to choose whether to show or hide the main link (default link) in the affiliate panel homepage.
Enable nofollow
If enabled, it adds the tag rel="nofollow" in all banners and force the "X-Robots-Tag: noindex, nofollow" header. Nofollow is especially useful at SEO level.
AFFILIATE SETTINGS
Show statistics
Choose which statistics to show in the affiliate panel. You can show all pages, only the main reports or only the main reports and transactions. The payments report is always displayed.
Multilevel
You can choose how many levels to enable in the multilevel system. If you choose 5 tiers you can set multilevel commissions up to 5 tiers and the sub-affiliates see the downline up to the 5th tier. If you put "Hidden" the sub-affiliates are tracked, but the downline is not visible. If you disable multilevel, the subaffiliates are not tracked and the downline is not visible.
Websites
You can choose whether the "Website" field must be mandatory or optional in the signup page and in the affiliate panel. You can also disable the websites module.
Redirect after logout
When users log out you can direct them to a page of your choice, for example the homepage of your website. Leave this field blank to use the default AffiliationSoftware page.
ADVERTISER SETTINGS
Show statistics
Choose which statistics to show in the advertiser panel. You can show all pages, only the main reports or only the main reports and transactions. The payments report is always displayed.
Amount to show
You can choose which amount to show in the advertiser panel. You can show the affiliate's commissions amounts, the total amount of sales (cost), or the gross amount paid by the advertiser (plugin required).
SIGNUP SETTINGS
Signup type
Automatic (without email confirmation): As soon as the affiliate completes the registration, he can access the affiliate panel.
Automatic (with email confirmation): After registering, the affiliate receives an email with a link to confirm his email address, as soon as he confirms it, he can access the affiliate panel.
Manual (with email confirmation): The admin must manually choose whether to approve or decline the new registered affiliates. Only affiliates with "Active" as status can access the affiliate panel.
Inactive: Deactivate the signup page. You can manually signup affiliates from the admin panel only.
Signup bonus
If you want to give a bonus to the new affiliates registered, enter the amount here. Use the dot as a decimal separator. Leave 0 (zero) if you don't want to give a signup bonus.
Terms of Service URL
Enter the URL of the page with your terms of service. You can use the default page of AffiliationSoftware or insert a link to a page on your site. Leave this field empty to view the default terms of service page within the signup page.
Redirect after signup
You can redirect users who have completed the signup to a page of your choice. Leave this field empty to display the default page of AffiliationSoftware.
Confirm email / password
Choose whether to show the "confirm email" and "confirm password" fields in the affiliate signup page.
RECAPTCHA SETTINGS
Enable ReCaptcha
Check the box if you want to activate Google ReCaptcha in the signup page and in the login page. Google ReCaptcha increases the security of your affiliate network.
ReCaptcha public key
To activate Google Recaptcha you must enter your public key here. You can generate this key from https://www.google.com/recaptcha
ReCaptcha private key
To activate Google Recaptcha you must enter your private key here. You can generate this key from https://www.google.com/recaptcha
13.2 Profile fields
You can configure up to 25 custom fields that will be displayed on the signup page and in the affiliate's profile.
You can use these fields to request additional information to your affiliates. For example: the address, the Skype contact, the facebook page, or the company name and VAT number.
To add a field: choose where it should be shown and enter the name of the field. If you want, you can also enter a more detailed explanation, it will be shown on the right of the fields as tooltip.
Custom field statuses:
Inactive: the field is not active and is not displayed.
Mandatory: the field is mandatory and is displayed on the signup page and in the user's profile.
Optional: the field is optional and is displayed on the signup page and in the user's profile.
Profile only: the field is optional and is displayed only in the affiliate profile, not on the signup page.
Read only: the field can only be changed by the admin but is displayed in the affiliate's profile.
Hidden: the field is hidden and is displayed only on the admin side, the affiliate cannot see it.
In the same way, you can configure up to 25 custom fields for advertisers too.
13.3 Email and pages
You can edit all the system emails and pages included in your affiliate network.
E-MAIL
Notification emails are automatically sent to users when they generate an action (new commission, new affiliate registered, etc.). The affiliates can choose if they want to receive notification emails from their profile page. While the admin can choose to enable or disable email notifications from the settings page.
You can change the text and appearance of the email notifications. HTML code is allowed.
The words in the square brackets are variables and should not be changed. For example, the variable [name] will be replaced with the name of your affiliate network.
Available variables:
[path]: returns the url of the affiliate network.
[home]: returns the url of the homepage of your site.
[name]: returns the name of your affiliate network.
[logo]: returns the logo of your affiliate network, in HTML format.
[signature]: shows the signature, configurable from the settings.
[currency]: shows the currency, configurable from the settings.
* Additional variables are available in some emails.
PAGES
You can edit the texts of the pages available in the affiliate panel. HTML code is allowed. If you leave the page's text empty, the page will not be displayed. By clicking "Add" you can create new pages and link them to existing ones. The default pages are the following:
Menu
This page is shown in the affiliate panel menu. You can use it to insert instructions or other useful information related to your affiliate network.
Homepage
It is a message that is shown in the homepage of the affiliate panel. You can use this page to communicate an important message to the affiliates.
Terms of service
These are the terms of service shown in the signup page. Affiliates must accept your terms of service in order to sign up to your affiliate network.
Campaigns description
You can enter a default description to use in your campaigns. This text will be automatically loaded into the "description" field when you create a new campaign.
In the same way, you can edit the texts of the pages available in the advertiser panel.
Available variables:
!MORE: the text above "!MORE" is displayed as the subtitle of the page.
[path]: returns the url of your affiliate network.
[home]: returns the url of the homepage of your site.
[name]: returns the name of your affiliate network.
[affiliate_name]: returns the name of the affiliate (only in the affiliate panel)
[affiliate_id]: returns the affiliate ID (only in the affiliate panel)
[redirect=http://example.com/page.html]: redirects the page to the specified URL
13.4 Payments
AffiliationSoftware allows you to customize the minimum amount to receive payments and the payment methods available for your affiliates.
13.5 Tracking
To automatically track the conversions generated by your affiliates you must insert the tracking code in the "thank you page" of the site.

 English
 Italiano
 Français
 Deutsch
 Español